Contents
So you’ve picked the photo. The beach one, maybe. Or that rare shot where all three kids looked at the camera at the same time (frame it immediately, it won’t happen again). Then the print shop’s upload page throws a little yellow warning at you, and now you’re wondering if the file is even big enough.
Short answer: depends on the size. The long answer is this page. There’s a full photo print size chart below, 4×6 all the way up to 24×36, A4 and A3 too. Then a reverse chart for when you already have the file and just want to know how big it’ll go. Then the viewing-distance thing, which almost nobody explains. And at the end, what to do if your photo is too small.
Pixels, PPI and DPI: The Only Formula You Need

Weird but true: a digital photo has no size in inches. None. It’s just a grid, 4032 × 3024 pixels or whatever your phone spits out. Inches only happen when you decide how tightly to squeeze that grid onto paper, and that squeeze has a name, PPI. Pixels per inch.
Okay, formula time. It’s one line:
Print size (inches) × PPI = pixels required
Want a 5×7 at 300 PPI, for example? Five times 300 is 1500, seven times 300 is 2100, so you need a 1500 by 2100 pixel file, and if you’ve already got the photo and want to go the other direction you just flip it around:
Pixels ÷ PPI = maximum print size (inches)
You’ll also see “DPI” everywhere, and it’s really easy to assume it means the same thing. It doesn’t, quite. DPI is about the little dots of ink a printer sprays, and it takes a whole cluster of them to build a single pixel, but when a lab’s FAQ says “300 DPI” what they actually want from you is 300 PPI, so I’d just read it that way and not lose sleep over it.
Centimeter people, you’ve got two choices: divide by 2.54 to get inches and carry on, or remember that 300 PPI comes out to something like 118 pixels per centimeter and skip the step.
What PPI Should You Aim For?
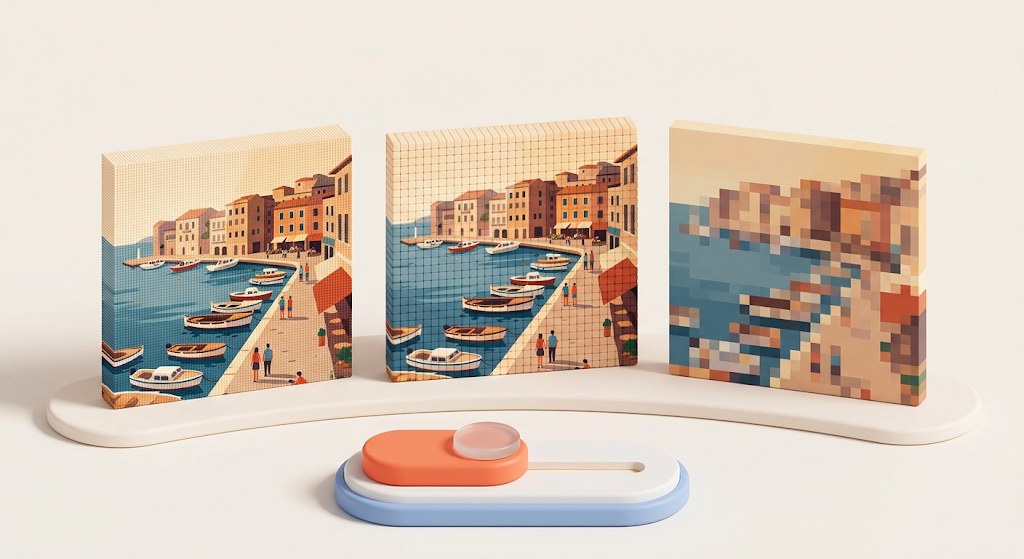
Everybody quotes 300 PPI, and there’s a reason for that, since a print at that density held in your hand looks like, well, a photograph, with nothing grainy or steppy about it.
That said, plenty of gorgeous prints hang on walls at well under 300. Here’s roughly how I think about it:
- 300 PPI — for anything people hold: 4×6 prints, 5×7 cards, photo books, a small frame on the desk.
- 200–240 PPI — honestly hard to tell apart from 300 on most photos. Good for 8×10 and 11×14.
- 150 PPI — the floor for posters and wall prints seen from a few feet back. Lean in close and hair, eyelashes and small text get a bit mushy.
- Under 100 PPI — banners, trade show stands, signage. Stuff you look at from across a room or a parking lot.
Most labs nudge you toward 300 and a lot of upload pages will grumble when you’re way under. You can ignore the grumbling. Usually it’s right, though.
Photo Print Size Chart: Pixels at 300 and 150 PPI

Here it is. First pixel column is the “looks perfect” number, the second one is the bare minimum for a wall.
| Print size (inches) | Aspect ratio | Pixels at 300 PPI | Megapixels at 300 PPI | Pixels at 150 PPI | Megapixels at 150 PPI |
|---|---|---|---|---|---|
| 4 × 6 | 2:3 | 1200 × 1800 | 2.2 MP | 600 × 900 | 0.5 MP |
| 5 × 7 | 5:7 | 1500 × 2100 | 3.2 MP | 750 × 1050 | 0.8 MP |
| 8 × 10 | 4:5 | 2400 × 3000 | 7.2 MP | 1200 × 1500 | 1.8 MP |
| 8 × 12 | 2:3 | 2400 × 3600 | 8.6 MP | 1200 × 1800 | 2.2 MP |
| 11 × 14 | ~4:5 | 3300 × 4200 | 13.9 MP | 1650 × 2100 | 3.5 MP |
| 12 × 18 | 2:3 | 3600 × 5400 | 19.4 MP | 1800 × 2700 | 4.9 MP |
| 16 × 20 | 4:5 | 4800 × 6000 | 28.8 MP | 2400 × 3000 | 7.2 MP |
| 18 × 24 | 3:4 | 5400 × 7200 | 38.9 MP | 2700 × 3600 | 9.7 MP |
| 20 × 30 | 2:3 | 6000 × 9000 | 54.0 MP | 3000 × 4500 | 13.5 MP |
| 24 × 36 | 2:3 | 7200 × 10800 | 77.8 MP | 3600 × 5400 | 19.4 MP |
Glance at 8×10 and then 16×20, seven megapixels and then twenty-nine, which catches people off guard because you’ve only doubled each side, but the paper area (and the pixel bill with it) went up four times, and honestly that’s where a lot of “why is my poster blurry” stories begin.
Standard Photo Sizes in A4, A3 and Other Paper Formats
Ordering in Europe or pretty much anywhere outside the US and Canada means A-sizes, and the neat trick with those is that every step up, A5 to A4 to A3 and so on, is exactly twice the paper of the last one, so the pixels you need double each time as well.
| Paper size | Millimeters | Inches (approx.) | Pixels at 300 PPI | Pixels at 150 PPI |
|---|---|---|---|---|
| A5 | 148 × 210 | 5.8 × 8.3 | 1748 × 2480 | 874 × 1240 |
| A4 | 210 × 297 | 8.3 × 11.7 | 2480 × 3508 | 1240 × 1754 |
| A3 | 297 × 420 | 11.7 × 16.5 | 3508 × 4961 | 1754 × 2480 |
| A2 | 420 × 594 | 16.5 × 23.4 | 4961 × 7016 | 2480 × 3508 |
Fun fact, A4 is basically an 8×12 wearing a European coat: about 8.7 MP. A3 is where your average 12 MP phone picture runs out of road at 300 PPI. It’d want roughly 17.
How Big Can You Print? Megapixels to Print Size

Most of the time you’re coming at it the other way. Photo’s on your phone, you want to know the biggest print it can take. Pixels on each side, divided by PPI. That’s it.
I ran the numbers for four common files: an old 8 MP phone, the classic 12 MP phone (4032 × 3024), a 24 MP mirrorless or DSLR (6000 × 4000), and a phone shooting full 48 MP (8064 × 6048).
| Photo resolution | Max size at 300 PPI | Max size at 200 PPI | Max size at 150 PPI |
|---|---|---|---|
| 8 MP (3264 × 2448) | 10.9 × 8.2 in | 16.3 × 12.2 in | 21.8 × 16.3 in |
| 12 MP (4032 × 3024) | 13.4 × 10.1 in | 20.2 × 15.1 in | 26.9 × 20.2 in |
| 24 MP (6000 × 4000) | 20 × 13.3 in | 30 × 20 in | 40 × 26.7 in |
| 48 MP (8064 × 6048) | 26.9 × 20.2 in | 40.3 × 30.2 in | 53.8 × 40.3 in |
Turning that into something you can actually use:
- 12 MP phone shot: 8×10, perfect. 11×14 lands near 275 PPI, still lovely. 16×20 drops to about 190, fine on a wall. Stretch it to 24×36 and you’re at roughly 112.
- 24 MP camera: 12×18 at 300, 20×30 at 200. Doesn’t even break a sweat.
- “48 MP” phones: sneaky one. A lot of them quietly save 12 MP files unless you flip on the full-res mode, since they merge four sensor pixels into one. Check the actual dimensions in the file info before you get excited.
All this assumes you print the whole frame. Crop it and those pixels are just gone. Chop a 12 MP shot down to half the width and half the height and you’ve kept a quarter, about 3 MP. Nice 4×6. Not much else.
Don’t Forget Aspect Ratio
Phones like 4:3. Real cameras mostly do 3:2. And print sizes? A total mess: 4×6 and 8×12 are 2:3, 8×10 and 16×20 are 4:5, 5×7 is its own odd thing.
When the shapes don’t agree, somebody has to cut, and if it isn’t you it’ll be the lab’s software, which is how a 3:2 shot ends up on an 8×10 missing a slice off one long edge (and a chunk of its pixels, so do your math on whatever’s left after cropping).
Viewing Distance: Why Big Prints Need Fewer Pixels Per Inch
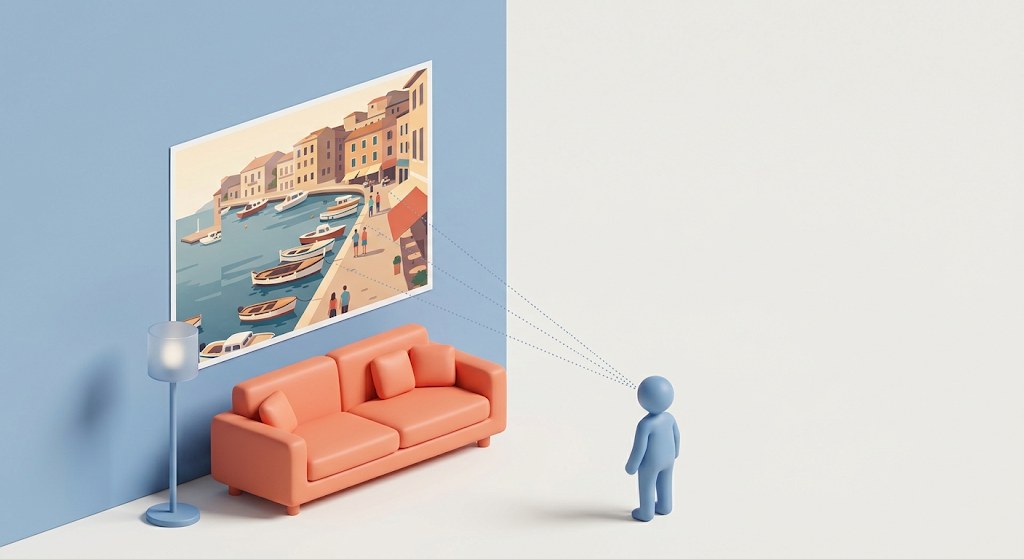
Here’s what most charts skip. No one stands 10 inches from a 24×36 poster. You step back to take it in, and from back there your eyes simply can’t see the fine stuff anyway.
There’s a rule of thumb for this, based on normal eyesight:
Required PPI ≈ 3438 ÷ viewing distance (inches)
Plug in a few distances:
| Viewing distance | PPI the eye can resolve | Typical use |
|---|---|---|
| 12 in (30 cm) | ~286 PPI | Prints in hand, photo books, cards |
| 24 in (60 cm) | ~143 PPI | Desk frames, small wall prints |
| 36 in (90 cm) | ~96 PPI | Wall art in a hallway |
| 5 ft (1.5 m) | ~57 PPI | Large posters above a sofa |
| 10 ft (3 m) | ~29 PPI | Banners, large canvas in a big room |
Remember that 24×36 from a 12 MP phone at 112 PPI? Over the sofa, seen from the armchair, it’ll look great. From there you physically can’t see what’s missing.
One catch, though. People walk up to wall art. Your uncle will absolutely press his face to it to see if that’s him in the background. If you expect that, go higher than the formula says.
Billboards are the extreme version: they get away with tiny PPI because drivers see them from hundreds of feet away. We wrote a separate piece onpreparing images for billboard printing if that’s your world.
Print-Ready Resolution by Project
Different prints, different expectations. My cheat sheet:
- Photo books and albums: 300 PPI. People flip through them up close and stare at every page.
- Holiday cards, 5×7 gifts: 300 PPI. Around 1500 × 2100 pixels and you’re set.
- 8×10 and 11×14 frames: 240–300 is ideal; 200 will do.
- 16×20 and bigger on the wall: 150–200 is usually plenty.
- Posters (18×24, 24×36): aim for 150. Push higher if there’s small text in the design.
- Canvas: the weave eats fine detail, so 150 often looks the same as 300. Watch the edges, a gallery wrap folds part of your picture around the sides. AI art brings its own weirdness at this size, and we went through it in our guide toupscaling Midjourney and DALL·E art for large canvas prints.
Not Enough Pixels? How to Get a Print-Ready File
Okay, so the numbers don’t work. Maybe your 12 MP shot needs to be a sharp 20×30. Maybe the only surviving copy of a family photo is a 1200-pixel JPEG your cousin sent through WhatsApp. Three ways out.
Option 1: Print Smaller
Not glamorous, I know. Still, if your file hits 300 PPI at 8×10 and only about 120 at 16×20, the 8×10 is going to look crisp every single time, and with a wide mat around it nobody walking past will think “huh, small.”
Option 2: Let the Lab Stretch It
Plenty of labs will quietly enlarge a small file on their end, usually with plain bicubic interpolation, which basically invents each new pixel by averaging its neighbors. For a small bump, call it up to 1.5×, you probably won’t notice, but go much further and you get that tired look, soft edges and smudgy texture and faces that seem faintly made of wax.
Option 3: Upscale With AI
Honestly, this is where I’d start. Rather than averaging anything, an AI upscaler leans on a model that’s been fed an enormous pile of photos, so it can predict what the missing detail probably looked like (eyelashes, brick, knit sweaters, leaves) and draw it back in, which is why the gap between AI and plain interpolation gets really obvious once you go poster-sized.
The arithmetic is friendly, too. Upscaling 4× stretches every side by four, so that 4032 × 3024 phone photo lands somewhere around 16128 × 12096, which is a 24×36 at better than 300 PPI with room left over to crop.
The way I’d go about it:
- Know your target. Find your size in the chart up top and jot down the pixel numbers for 300 or 150 PPI.
- Clean it up before anything else. If the photo’s grainy, a bit blurry or full of those blocky JPEG squares, run it through anAI photo enhancer first, because enlarging junk just gives you bigger junk.
- Pick how far to go. For a modest jump, say a phone picture headed for a 16×20, theAI Image Enlarger adds resolution without trashing quality; for big posters or a really tiny original, jump straight to anupscale to 4x the original size.
- Look at it at 100%. Eyes, edges, any lettering. If something’s off, try another scale or a cleaner source file.
- Save it at full quality. A high-quality JPEG or a PNG at full size is what you want, and please, please don’t bounce it through a chat app or some cloud folder that squashes it before it ever gets to the lab.
Quick Pre-Print Checklist
Before you hit “order,” run down this list once:
- your pixels at least match the chart for the size you picked
- the shape of the photo fits the print, or you chose the crop yourself instead of letting the lab guess
- you checked the resolution after cropping (people forget this one constantly)
- at 100% zoom there’s no noise, smear or blocky JPEG mush
- you uploaded the full file and not some shrunken copy that came through email or a messenger
FAQ
How many pixels do I need for a 4×6 print?
For a proper 300 PPI print you’re looking at 1200 × 1800, which pretty much any phone from the last decade beats without trying. Drop to 600 × 900 and it’ll still come out of the machine, it’ll just look a little soft when you hold it.
How many pixels for an 8×10 print?
You want 2400 × 3000 for 300 PPI, and the usual 12 MP phone file has that covered unless you’ve cropped it hard.
How many pixels do I need for a 24×36 poster?
At full 300 PPI it’s 7200 × 10800, so nearly 78 MP, which almost nobody has lying around. Since posters get looked at from a few feet back, 3600 × 5400 (that’s 150 PPI) is the number I’d actually aim for.
Is 72 DPI good for printing?
Nope. 72 is a holdover from old computer monitors, and a print at that density looks blocky unless you’re way across the room. Funny thing is, the 72 or 300 stamped in a file’s metadata doesn’t change anything by itself; it’s the pixel count against the print size that decides how it looks.
Does changing the DPI setting in Photoshop improve print quality?
Not by itself, no. Switch 72 to 300 with resampling turned off and you’ve got exactly the same pixels as before, just squeezed into a smaller print, so to get genuinely more detail you have to add pixels, either by resampling or with an AI upscaler.
Can I print a phone photo as a large poster?
A lot of the time, yes. A 12 MP shot works out to around 190 PPI at 16×20 and about 112 at 24×36, both perfectly okay for something on a wall, and if you want it crisper up close, upscale it before you place the order.
Make Every Print Size Work
Inches times PPI gives you pixels. Viewing distance tells you how many PPI you actually need. That’s most of it. Check the chart against your file and you’ll know whether the print will look sharp before you pay for it.
And if your photo comes up short, you don’t have to settle for a smaller print. Run it through ImageUpscaler, bring it up to the resolution your print size needs, and send the lab a file that’s ready for the wall.


