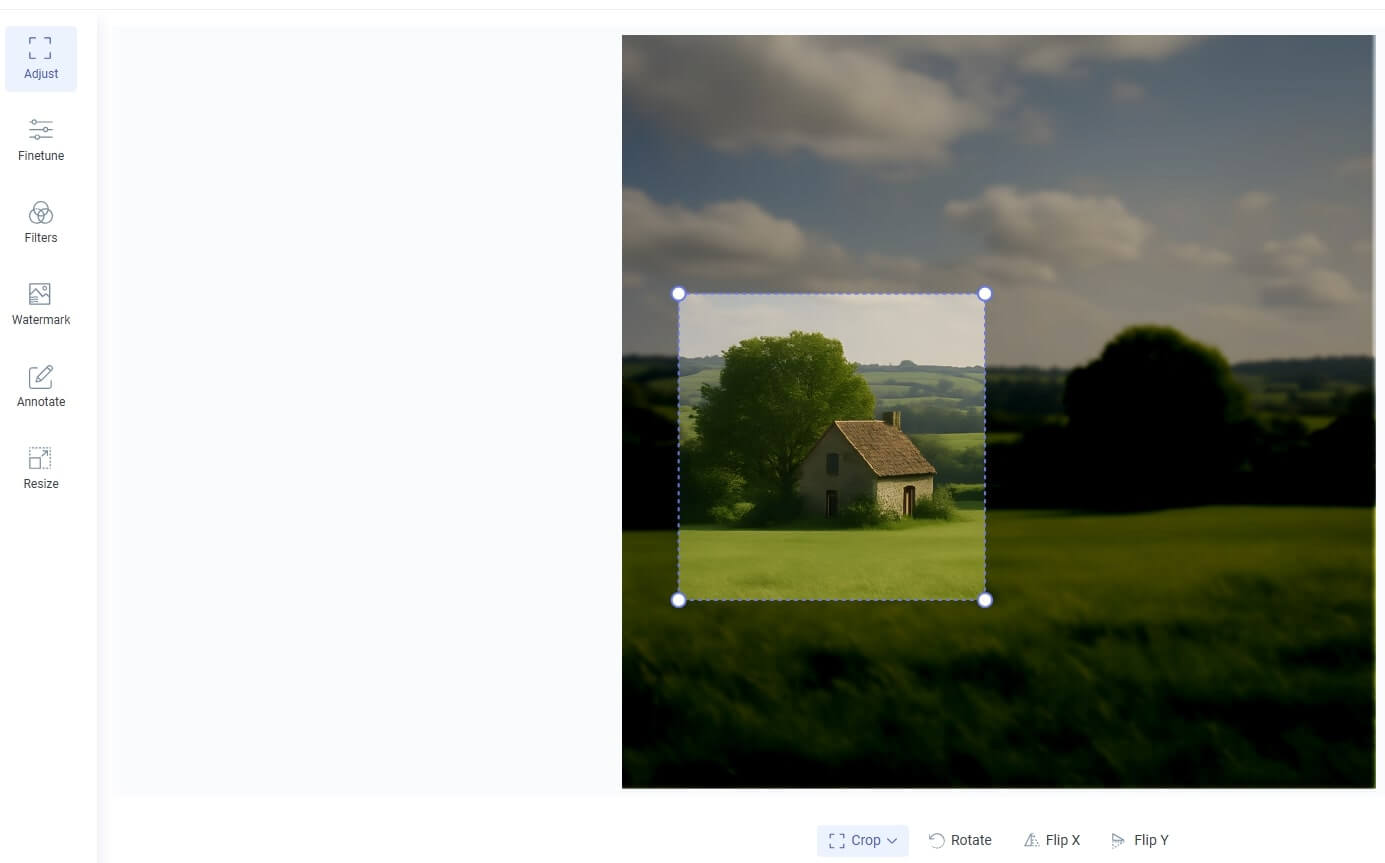
Fig1. Image cropping.At ImageUpscaler, we’ve always focused on one thing—helping people get better images with less effort. Until now, our tools were all about AI upscaling, background removal, and even turning photos into anime. But let’s be honest: once you’ve improved an image, there are often a few small tweaks you’d still like to make. That’s exactly why we’ve added a new feature: image post-processing.
What Is Image Post-Processing?
Think of it as the polish at the end. Maybe you’ve upscaled a photo and it looks good, but you still want to crop out some background, bump up the brightness, or add a short caption. Normally you’d have to fire up another app for that. Not anymore—you can do it right here.
This new editor is powered by the open-source Filerobot Image Editor. It’s quick, works directly in your browser, and the interface feels natural enough that you won’t need a manual to get started.
What Can You Do with It?
1. Crop, Resize, Rotate, Flip
Sometimes the basics are what matter most. Cropping helps you cut away the “noise” and focus on the subject. Need a perfect square for Instagram? Easy. Want a wide banner for a website? Done. You can also resize without losing sharpness, rotate a tilted photo, or flip it if the framing just looks better mirrored.
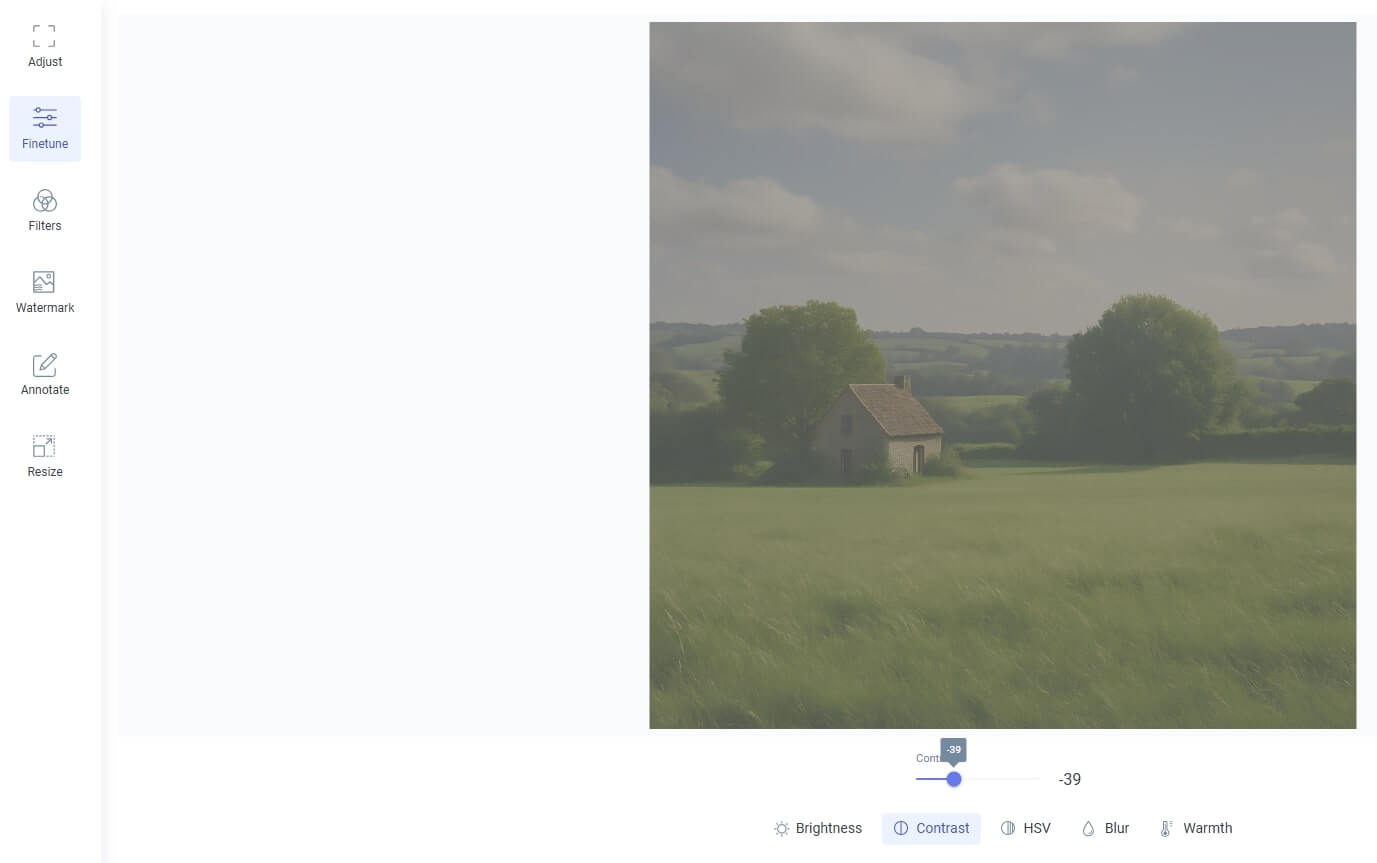
2. Brightness, Contrast, Colors, Blur
Lighting can make a photo shine—or ruin it. That’s why you’ve got tools to adjust brightness, tweak contrast, and even play with hue, saturation, and value. It’s a great way to make colors pop or soften them if they’re too harsh. And if you want a creative touch, blur works surprisingly well for giving depth or hiding details you’d rather keep in the background.
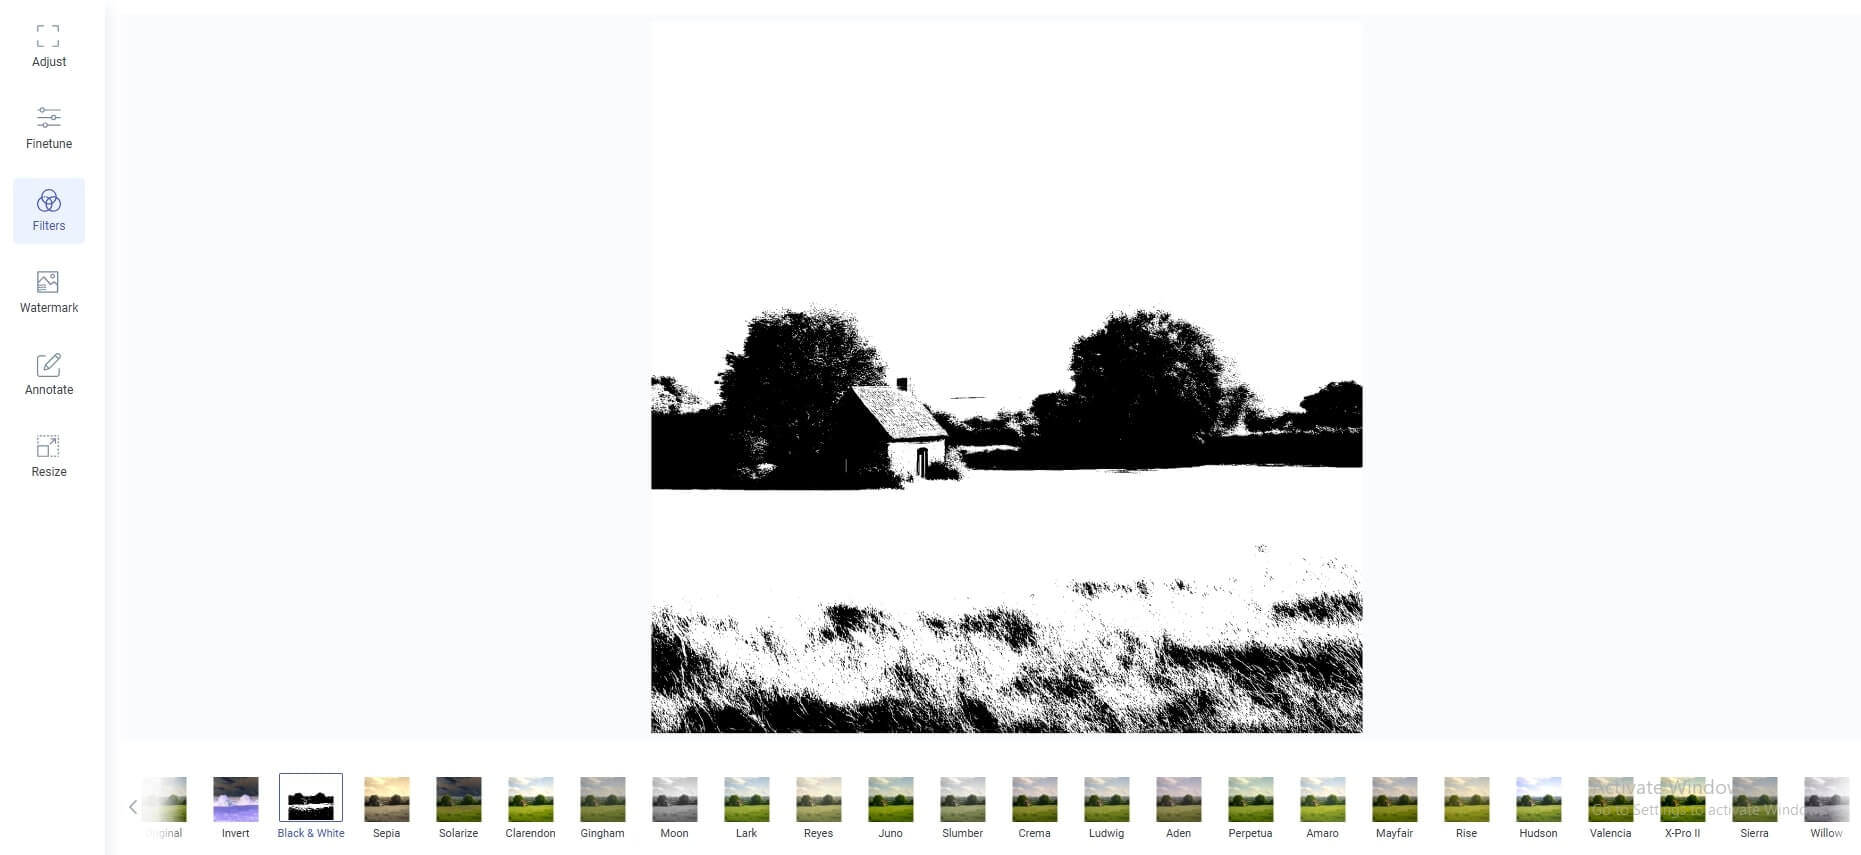
3. Image Filters
In a rush? Filters are your best friend. With one click you can make a photo look retro, cinematic, or bold and sharp. It’s fun to experiment, but also practical if you want your images to share a consistent style. Perfect for social media feeds or product catalogs where everything needs to “feel” connected.
4. Add Watermark
If you’re sharing your work online, you probably don’t want it floating around uncredited. Adding a watermark solves that. You can use text or a logo, move it wherever you like, adjust size, and even make it subtle with opacity. It keeps your work safe and, at the same time, puts your brand out there.
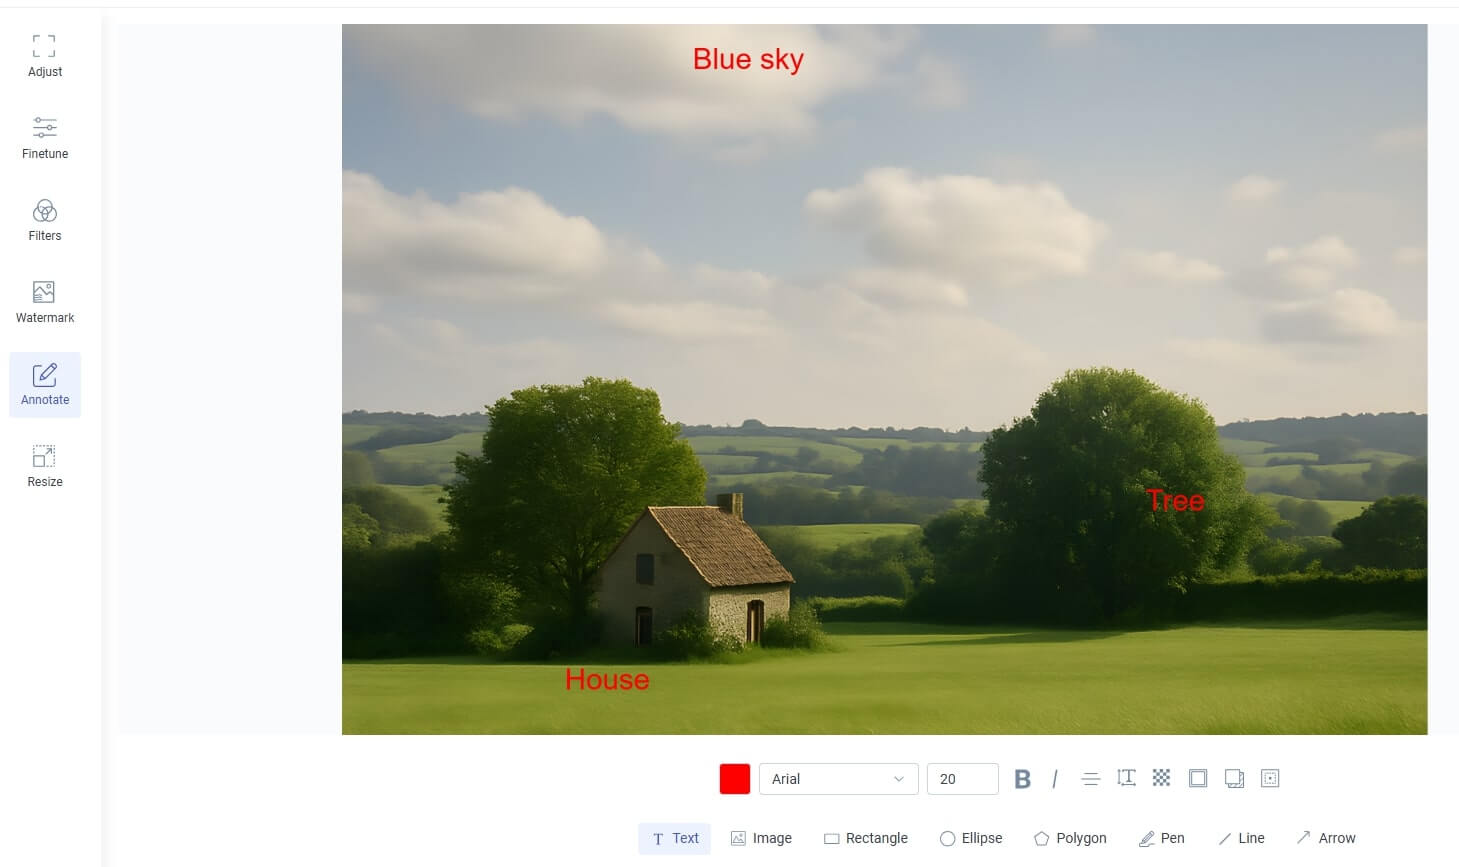
5. Text Annotations
Sometimes a picture needs words. Maybe it’s a short label, a caption, or a bit of context. With annotations, you can add text in any style—choose fonts, colors, and sizes that match the vibe of your photo. It’s handy for infographics, product images, or even just adding a funny comment.
The best part? You don’t have to jump between different apps. Everything happens in one place, right after you upscale or remove a background.
Why It’s Useful
A lot of our users—designers, bloggers, online sellers—told us the same thing: they wanted to finish their images faster. No one likes moving between three different tools for simple edits. Now you can process and polish in one flow, and get a finished, ready-to-share photo in minutes.
How to Try It
Here’s how it works:
- Upload your image as usual.
- Choose Settings and click Start processing.
- When the result shows up, hit Edit this image.
- Make your changes—crop, adjust, add text, whatever you need.
- Save and download. Done.
It really is that simple.
Final Thoughts
This is only the start. With post-processing, ImageUpscaler is turning into more than just an upscaler—it’s a full photo editor in your browser. Whether you’re prepping a shop listing, creating social media posts, or just fixing up a personal picture, you’ll have the tools you need without switching tabs.
👉 Try the Image Post-Processing tool and see how much easier editing becomes.


