GIMP is absolutely freeware, the multifunctional graphic editor that serves as a great alternative to Photoshop. For one thing, like PS, GIMP makes images larger in an efficient way, without losing any quality. Let’s dive a bit deeper into figuring out how to resize an image in GIMP the proper way.
Resizing an Image Step-by-Step Using GIMP
In GIMP, the image resizes without losing quality is a readily-available capability that, if employed properly stage by stage, gets you some impeccable images with the updated size.
If you still don’t have GIMP installed on your PC, you can download its latest version from the official website and set it up. The editor is compatible with Windows, Mac, and Linux.
Step #1 – add an image file
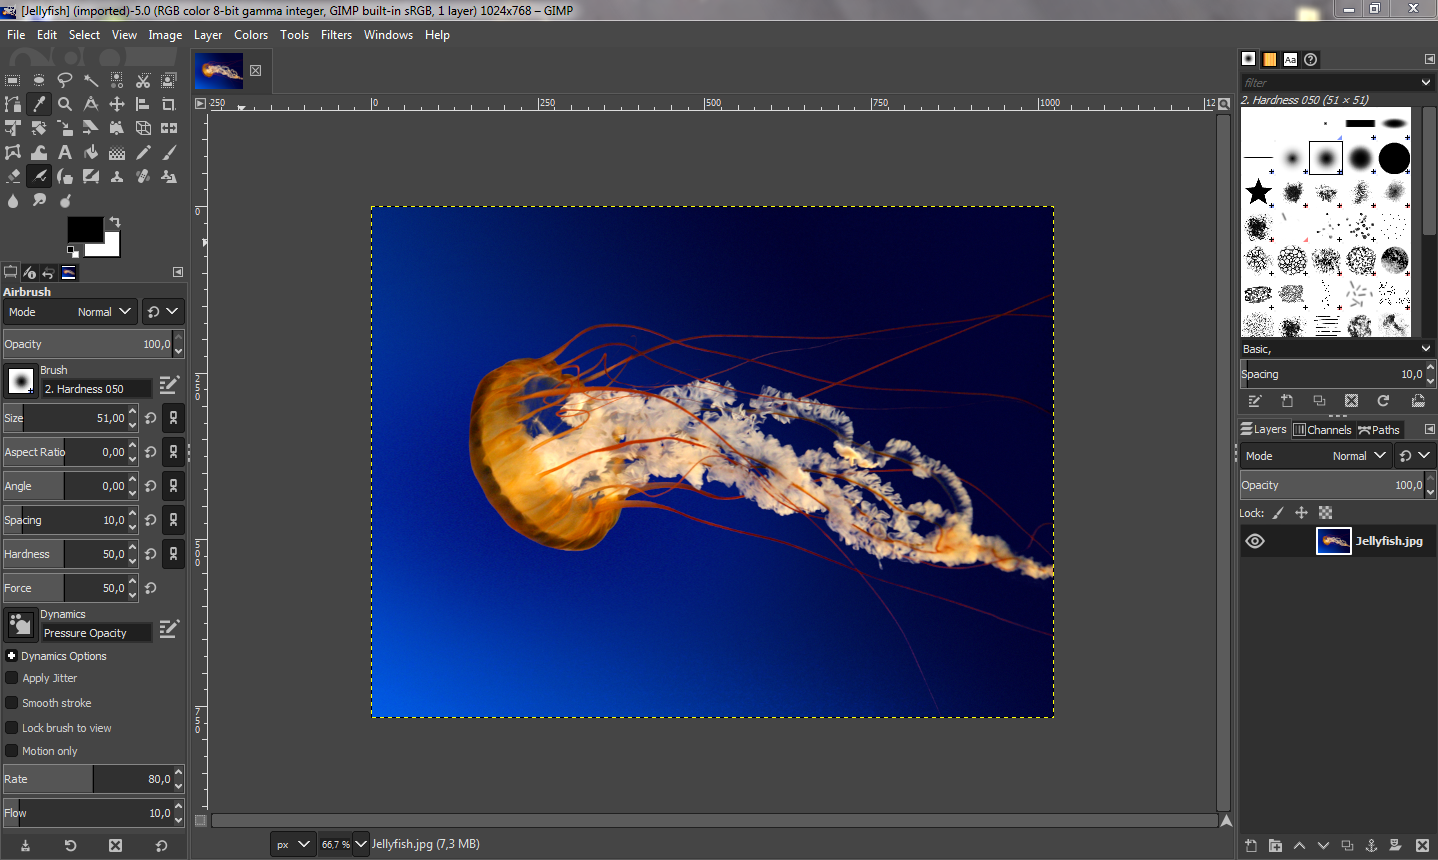
Once you have it installed, launch the editor and click File -> Open. If you click the file once, you’ll see a preview while clicking it twice or pushing ‘Open’ will add the file to the editor.
Step #2 – open the necessary tab in GIMP
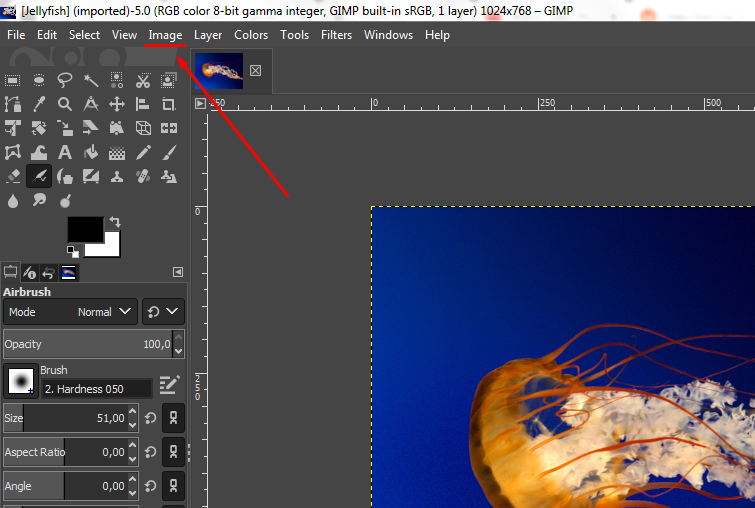
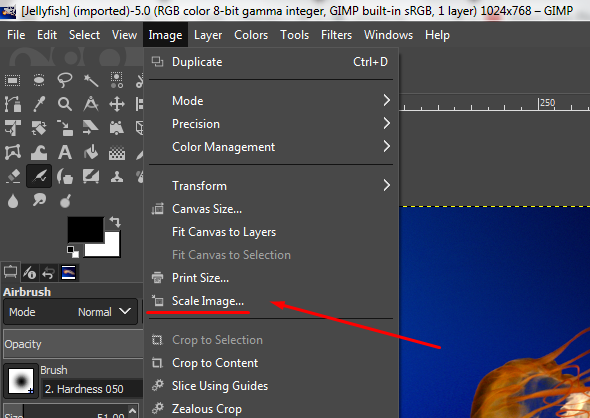
If you want to enlarge the image without losing quality with GIMP, you’ll need to find out a thing or two about that image, mostly, its current size. Suppose, your image is 6,000×4,000p in size. In GIMP, resizing an image starts by clicking the tabs Image -> Scale Image.
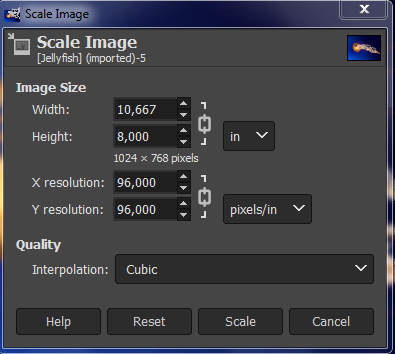
You’ll open a window where the Image Size is specified – its width and height. Clicking the arrows up and down right nearby those indications, you can conveniently adjust the size of an image.
Moreover, there’s a chain-like icon beside the arrow, with the help of which you can block and unblock your picture’s dimensions ratio. That way, by changing one parameter (e.g., width), the connected parameter will change automatically (e.g., height).
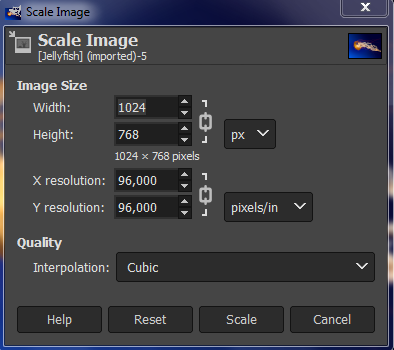
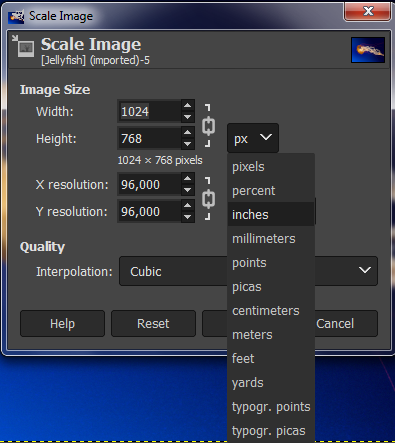
Besides the chain-like icon, the points of width and height measurement are indicated – pixels (px) by default. You can change it if need be. For that, simply click it and select any other option from the dropdown list.
Step #3 – define the dimensions
Now, you need to specify a new size of your image. This can be done simply via keyboard (simply input the desired parameters) or by correcting the number with Tab. Don’t forget that if your parameters are ‘chained’, they are to change in sync.
Step #4 – specify the resolution
When you enlarge an image in GIMP, once you’re done with configuring width and height, you’ll need to adjust the resolution parameters – X and Y. We’d strongly recommend leaving both these parameters identical. The customized resolution will define the overall image quality, i.e., the amount of displayed graphics data per point of dimension.
Keeping the resolution ratio corresponding positively affects the end quality of an image. On the other hand, however, this makes the image file larger. So it’s better to go by an implicit rule of everyone who’s been using GIMP or similar scaling editor for some time already:
- Need an image for printing? Set 300px per inch;
- Need a picture for the website? Set 72px per inch.
Note that GIMP automatically changes X along with Y and vice versa by default. So, most of the time, it’s enough to specify a single parameter.
Step #5 – set the desired interpolation quality
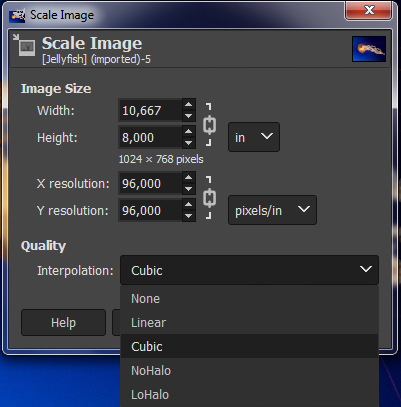
Now, you need to open a dropdown menu under the ‘Interpolation’ tab. There, you can define a certain method for resizing images in GIMP. Thus, the second version of GIMP offers users to pick out of 5 methods.
The fastest (but the most low-quality) one is the ‘none’ method. The best from the quality perspective method is ‘LoHalo’ (which, however, requires some patience during scaling).
In a number of cases (e.g., when your image resizing with GIMP is needed to result in a significantly different image), if you wish to save all the visual characteristics unharmed, you just have to bear with Lolo. It is time-consuming, but it is a real forte of GIMP.
Once your image is scaled, you’ll see its new parameters in the top part of the GIMP’s window.
Step #6 – save a scaled image
Lastly, all you need to do now is save your customized image to your PC or laptop. You, basically, already have a grip on resizing photos in GIMP and now you just export the result to your computer specifying the format. In particular, an image can be exported in JPEG or .XCF (which is a special, authentic GIMP format that saves pictures in layers and can be launched only via GIMP).
Simply click File -> Export as.
Then, specify the file’s name and make sure you pick the needed format. You’ll also need to additionally adjust the end quality of the image – 60-75% is the most optimal range for websites. Click ‘Export’ and that’s it.
A simpler way to go about this step is to simply click File -> Save as, specifying the name and format of the file.
Wish to Try a Decent or More Accessible GIMP Alternative?
You can also try out Image Upscaler – a free-of-charge editing web service. This is a much simpler alternative to GIMP, which serves only one major purpose – scaling images with the maximum quality saved. All you need to do to use it is upload an image to the server and click the processing button. Image Upscaler will do all the rest on its own.

As opposed to the GIMP image scale principles, Generative Adversarial Networks (GAN) lie in the core of this web service. They’re able to autonomously learn to scale an image in the most natural way by getting two files – an original image and its copy reduced 4x in size – and juxtaposing them for further processing. Such an approach provides an utterly natural transfer from one scale to another without sacrificing the smoothness of lines and sharpness.
Note that the service allows scaling pictures up to 4 times bigger. It is fully accessible via the tab of any browser and doesn’t even require to be installed (which is great news for mobile users).
Summary
If you become a really good graphic designer based on GIMP or other graphical tools you can find good photography jobs with our partner Jooble.
We hope that we managed to clarify for you how to resize image GIMP. Do you have any editors of preference where you can efficiently change image dimensions? Are you planning to resize a picture in GIMP after all you’ve found out? Or are you looking more in the direction of Image Upscaler? Feel free to share your thoughts in the comments.


